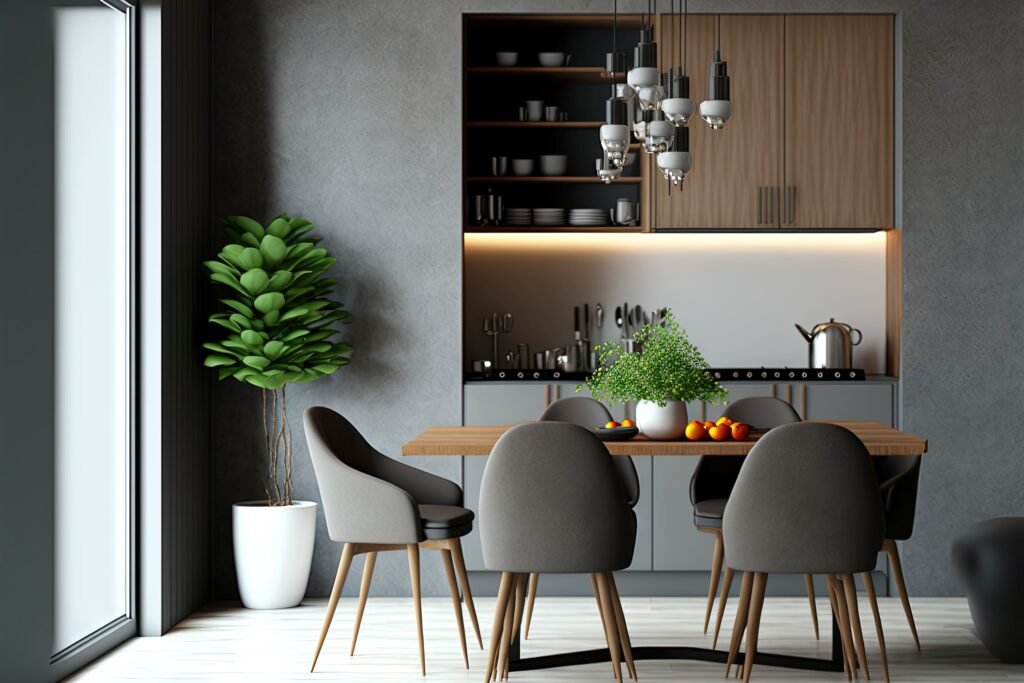
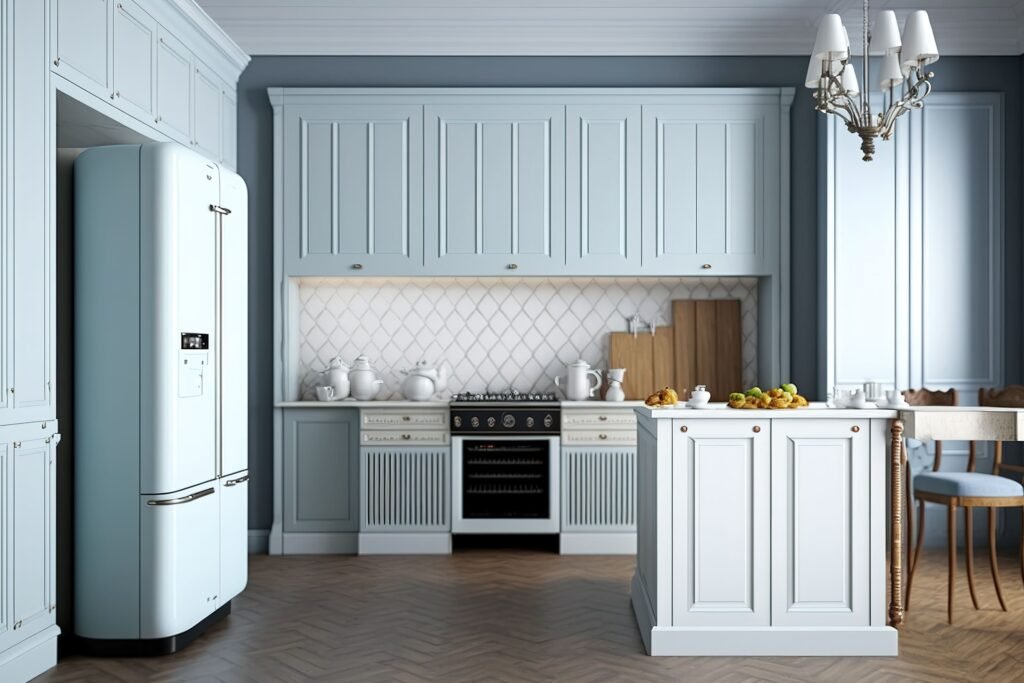
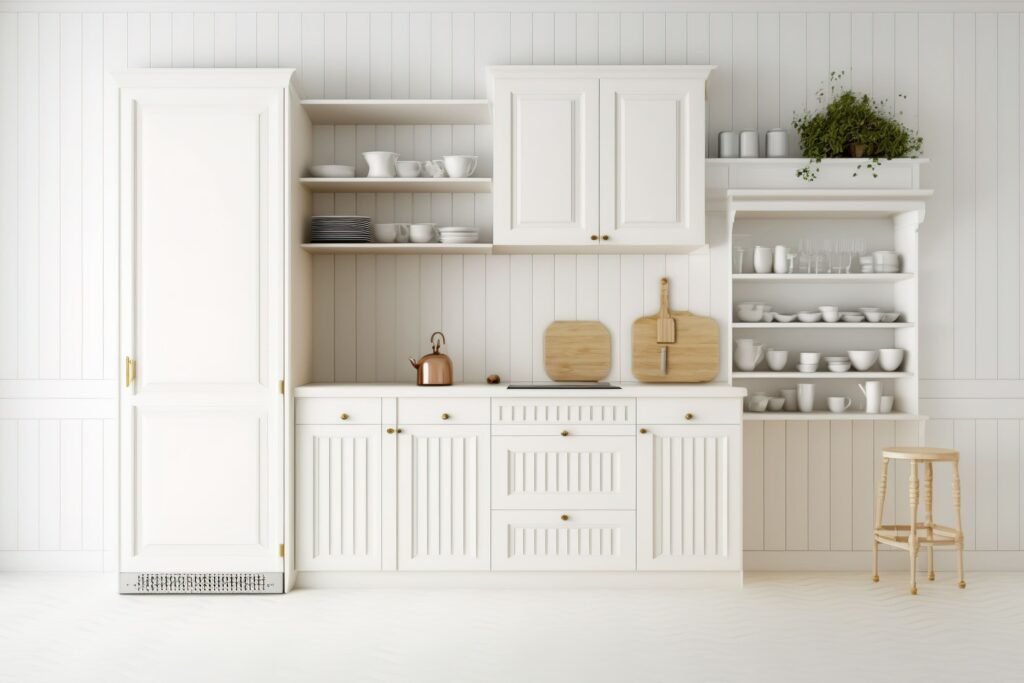
If you’re looking to give your kitchen a fresh new look without a full remodel, painting cupboards is one of the smartest ways to go. It’s a budget-friendly solution that can transform your space, giving it a brand-new feel without the hassle of a complete renovation. With a few tools, the right paint, and a little patience, your kitchen cupboards in Rocklin, CA, can go from tired to terrific. Here are 10 genius tips to help you get started on your cupboard painting journey!
1. Prep, Prep, Prep! Clean and Remove the Doors
It might be tempting to jump straight into painting, but good prep work is essential. Start by removing the cabinet doors and hardware. Then, clean every surface thoroughly to remove grease, dust, and any grime buildup.
- Pro Tip: Use a degreaser or a mixture of warm water and dish soap to ensure the surfaces are spotless. Grease left on cupboards can prevent paint from adhering properly, so don’t skip this step.
2. Label Each Door and Hardware Piece
Before you take everything apart, label each door and its matching hardware. This will save you time when reattaching doors and prevent a mix-up once the paint has dried.
- Pro Tip: Use painter’s tape and a marker to label each piece discreetly. Write numbers or letters on tape and stick it inside each cupboard to make reassembly a breeze.
3. Choose the Right Paint for Durability and Style
Choosing the right paint can make all the difference. For kitchen cabinets, look for a high-quality paint that’s designed for durability. Satin or semi-gloss finishes work well because they’re easy to clean and resist stains better than matte finishes.
- Recommended Paints: Brands like Benjamin Moore Advance and Sherwin-Williams Emerald Urethane Trim Enamel offer a smooth finish and are ideal for redoing kitchen cabinets in Rocklin.

4. Prime Your Cabinets for Lasting Results
Applying a primer is essential, especially if your cabinets are dark or stained. Priming helps the paint adhere better and ensures a uniform color, giving you a professional-looking finish.
- Pro Tip: Use a high-quality bonding primer, like Zinsser or Kilz. Priming not only helps with adhesion but also seals the surface, making it more resistant to stains and moisture.
5. Sand Lightly Between Coats for a Smooth Finish
To achieve a flawless look, lightly sand each coat of paint after it dries. This step smooths out any uneven areas and gives the next coat a better surface to grip onto.
- Pro Tip: Use fine-grit sandpaper, around 220 grit, to prevent scratching the paint. Lightly sanding between coats can make your cabinets look professionally painted, adding to the appeal of your kitchen cupboard renovation in Rocklin.
6. Use a Paint Sprayer for a Flawless Finish
If you want that factory-finish look, consider using a paint sprayer. Paint sprayers create an even, smooth layer without brush or roller marks, which is ideal for updating kitchen cabinets with a high-quality finish.
- Pro Tip: If a sprayer isn’t available, foam rollers can also work well for smooth applications. They’re easy to control and don’t leave brush marks, creating a beautiful finish on your cabinet doors.
7. Go Bold with Color Choices or Stay Classic
One of the most exciting parts of painting your cupboards is choosing the color. While white and gray remain classic choices, deep greens, navy blues, and even bold blacks are trending and add a sophisticated feel to any kitchen.
- Pro Tip: For a Rocklin kitchen that reflects California’s natural beauty, consider earthy tones or soft shades like sage green, charcoal gray, or even a two-tone look with darker lower cabinets and lighter uppers.


8. Swap Out Hardware for an Instant Upgrade
While you’re painting, take the opportunity to update the hardware as well. New knobs, pulls, or handles can instantly elevate the look of your cupboards and complete your kitchen’s transformation.
- Pro Tip: Matte black, brushed nickel, and brass hardware are popular and add a modern touch when updating kitchen cabinets in Rocklin. Choose hardware that contrasts nicely with your cabinet color for an added design element.
9. Protect Your Hard Work with a Clear Topcoat
Adding a clear protective topcoat can make your painted cupboards more durable and easier to clean. This extra layer protects against scratches, moisture, and stains, making it ideal for busy kitchens.
- Pro Tip: Look for a water-based polyurethane or a clear acrylic topcoat. These won’t yellow over time and are easy to clean, making them perfect for kitchen cupboard renovation projects.
10. Allow Plenty of Drying Time for a Lasting Finish
Patience is key when painting cupboards. Allow each coat to dry completely before applying the next to avoid smudges, bubbles, or an uneven finish. This step ensures that your paint job looks fantastic and lasts for years.
- Pro Tip: After the final coat, wait at least 24 hours before reattaching doors and hardware. The longer you allow the paint to cure, the better your results will be, helping you achieve a long-lasting, durable update.
Ready to Transform Your Kitchen?
Updating your cupboards is a simple yet impactful way to refresh your kitchen without a complete remodel. These tips make it easy to achieve a polished, professional look that enhances the overall feel of your space. Whether you’re looking to keep it classic or embrace bold colors, a new coat of paint on your cabinets can completely transform your kitchen. If you’re ready to get started, why not take the first step toward a kitchen cupboard renovation in Rocklin today?

